What is the Tevo Tarantula Volcano Hotend?
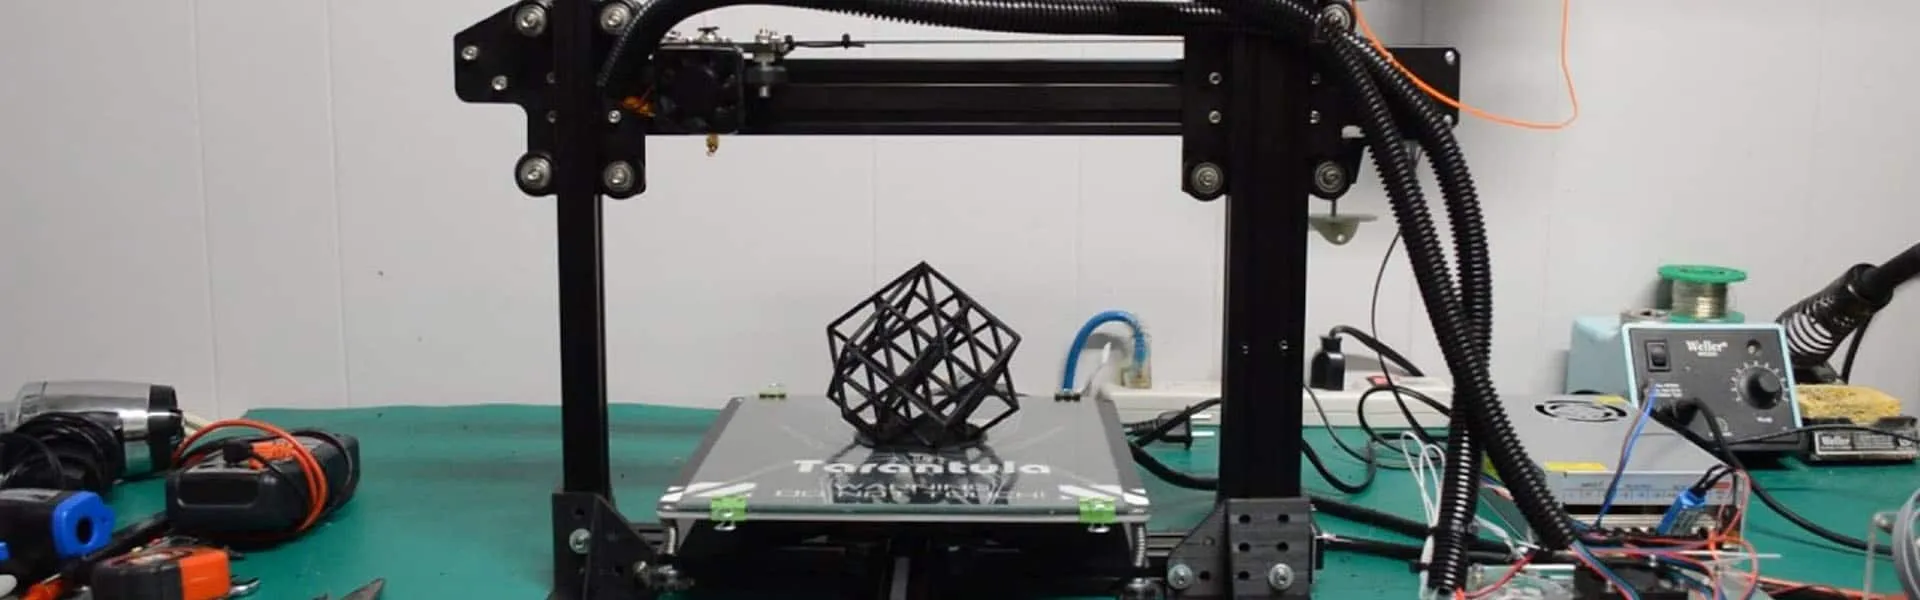
The Tevo Tarantula, a popular and affordable 3D printer, is a favorite among hobbyists and beginners. The “Volcano Hotend” is a high-flow hotend designed for 3D printers, renowned for its ability to melt and extrude filament at a much faster rate than standard hotends. This enhanced melting capacity translates to significantly faster print speeds, making it ideal for printing large objects or for users who want to reduce their print times. The Volcano Hotend achieves this increased performance through a longer melting zone within its design, allowing for more efficient heat transfer and a higher throughput of molten plastic. It is a popular upgrade for many 3D printers, including the Tevo Tarantula, as it significantly boosts printing capabilities.
Benefits of Upgrading to a Volcano Hotend
Upgrading your Tevo Tarantula with a Volcano Hotend offers several advantages that can greatly enhance your 3D printing experience. The primary benefit is the ability to print at higher speeds. The increased melting capacity of the Volcano Hotend allows for a greater volume of filament to be extruded per second, leading to faster print times. Beyond speed, the Volcano Hotend also provides a wider range of filament compatibility. Because it can handle higher flow rates, it is well-suited for filaments with specific requirements. This opens up the possibilities for using different types of filaments with your Tevo Tarantula, expanding your project’s capabilities. Furthermore, the Volcano Hotend’s robust design and efficient heat distribution often lead to improved print quality, especially with large prints or parts with complex geometries.
Increased Printing Speed
The core advantage of a Volcano Hotend is its ability to increase print speeds significantly. By melting more filament per second, you can reduce the time required to complete a print job. This is especially beneficial for large prints, where the time savings can be substantial. For example, a print that might take 10 hours with a standard hotend could potentially be completed in 5-7 hours with a Volcano Hotend. Keep in mind that achieving these faster speeds depends on other factors, such as the printer’s frame stability and the extruder motor’s power, but the Volcano Hotend removes a significant bottleneck in the printing process. The key is to balance speed with print quality, finding the optimal settings for your specific filament and project. This enhancement makes it possible to realize projects faster and make printing more efficient.
Wider Range of Filament Compatibility
The Volcano Hotend’s design and increased melting capacity also allow for a wider range of filament compatibility. Some filaments, such as those containing abrasive additives or requiring higher temperatures, can be difficult or impossible to print with standard hotends. The Volcano Hotend’s efficient heat distribution and ability to handle high flow rates make it easier to successfully print with these more demanding materials. This expansion in filament choice allows you to experiment with different types of materials, expanding the capabilities of your 3D printer. The Volcano Hotend is particularly helpful when using filaments like carbon fiber-filled materials or other specialized plastics. This ultimately allows users to expand their creative palette and find the optimal materials for their projects.
How to Prepare for the Upgrade
Before you begin the Volcano Hotend upgrade, it is crucial to prepare adequately to ensure a smooth and successful installation. This includes gathering the necessary tools and materials, as well as familiarizing yourself with safety precautions. Planning ahead and taking the time to understand the steps involved will minimize the risk of issues and ensure that you can enjoy the benefits of your upgraded hotend. This preparation phase sets the stage for a more streamlined and enjoyable printing experience, which minimizes frustrations and results in a better final product.
Gathering Tools and Materials

To successfully upgrade your Tevo Tarantula with a Volcano Hotend, you will need to gather a specific set of tools and materials. Start by acquiring the Volcano Hotend kit itself, ensuring it is compatible with the Tevo Tarantula’s specifications. Common tools required include Allen wrenches (hex keys) of various sizes, a set of pliers, a small flathead screwdriver, and possibly a heat gun for removing stubborn parts. You may also need a multimeter to check wiring connections, and thermal paste to enhance heat transfer between the heat block and heat sink. Make sure you have replacement nozzles appropriate for the Volcano Hotend. Other recommended items include a clean workspace, good lighting, and a container to hold the small parts you remove during the disassembly process.
Safety Precautions
Safety should always be your top priority when working with 3D printers, especially during a hotend upgrade. Before you begin, ensure that your printer is unplugged from the power source to prevent electrical shock. Always allow the hotend to cool completely before attempting any disassembly or handling of the components. Be careful when handling the heater cartridge and thermistor wires, as they can be fragile. When working with the heated components, consider wearing heat-resistant gloves to prevent burns. Keep your workspace well-ventilated to avoid inhaling fumes that may be released during the heating process. Double-check your work as you go, and never force any parts; if something doesn’t fit easily, review the instructions or seek assistance. Taking these precautions minimizes risks and contributes to a safer and more enjoyable upgrade experience.
Tevo Tarantula Disassembly
The initial step in upgrading your Tevo Tarantula with a Volcano Hotend involves disassembling the existing hotend assembly. This process requires you to carefully remove the old components to make way for the new Volcano Hotend. Taking your time during this step and organizing the parts will help streamline the process. It is critical to document and store each piece systematically, making reassembly simpler. Careful and methodical disassembly is key to ensuring a smooth transition.
Removing the Old Hotend

Begin the disassembly by carefully removing the old hotend. First, unplug the printer and allow the hotend to cool completely. Once cooled, disconnect the thermistor and heater cartridge wires. Then, carefully loosen the screws that secure the hotend to the carriage. With these screws removed, you should be able to gently detach the entire hotend assembly from the printer. Keep all screws and parts organized for later use or disposal. This initial step clears the workspace for the installation of the Volcano Hotend.
Disassembling the Hotend
After removing the entire hotend assembly from the printer, the next step is to disassemble the old hotend itself. This usually involves unscrewing the nozzle from the heat block and then removing the heat break and any other components. Use appropriate tools, such as a wrench or pliers, to carefully loosen and detach each part. Store all removed components separately to prevent losing them or mixing them up with the new Volcano Hotend parts. The goal is to completely separate all the components to prep for the new setup.
Installing the Volcano Hotend
With the old hotend disassembled and removed, you can now install the new Volcano Hotend. This involves assembling the new components, carefully wiring the heating elements and thermistor, and securing the hotend to the printer’s carriage. The installation process is more streamlined if you have taken the proper precautions and fully prepared earlier in the steps. Take it slow, and double-check all steps. This step is pivotal in making the upgrade operational.
Assembling the Volcano Hotend

Assemble the Volcano Hotend by following the manufacturer’s instructions. Typically, this involves threading the nozzle into the heat block and screwing the heat break into the heat block. Make sure all components are securely tightened, but avoid over-tightening, as this can damage the threads. Also, ensure that the heat break is properly seated to prevent filament leakage. Refer to the Volcano Hotend’s manual for guidance, as assembly details may vary. By assembling it correctly, it lays the foundation for good printing results.
Wiring the Thermistor and Heater Cartridge
Once the Volcano Hotend is assembled, carefully wire the thermistor and the heater cartridge. The thermistor senses the temperature of the hotend, while the heater cartridge provides the heat needed to melt the filament. Connect the wires for these components according to your printer’s wiring diagram or the instructions provided with the Volcano Hotend. Typically, the wires are secured using screw terminals or by plugging them into the mainboard. Make sure the connections are secure to ensure accurate temperature readings and efficient heating.
Calibrating and Testing the Volcano Hotend
After installing the Volcano Hotend, it’s time to calibrate and test it to ensure it is functioning correctly. This includes adjusting settings to match the new hotend and running test prints to evaluate print quality. The calibration steps include adjusting the printer’s firmware settings and performing a few test runs to check settings and function. This careful process ensures that the Volcano Hotend works properly and produces successful print results.
Adjusting PID Settings

PID (Proportional-Integral-Derivative) settings control the hotend’s temperature stability. With a new hotend, especially one with different thermal characteristics like the Volcano Hotend, you may need to recalibrate these settings. You can adjust the PID settings through your printer’s firmware. Typically, this involves running an auto-tune process through the printer’s control panel or by sending G-code commands. The auto-tune process will calculate new PID values that optimize the hotend’s temperature control. Once the new values are calculated, save these settings to your printer’s firmware. Ensuring proper PID settings is critical for maintaining consistent temperatures during printing.
Initial Test Print
Once the PID settings are adjusted, perform an initial test print to verify the hotend’s performance. Start with a simple test model, such as a calibration cube or a small, uncomplicated object. Monitor the print closely, paying attention to factors like filament extrusion, layer adhesion, and overall print quality. If you experience any issues, such as under-extrusion, over-extrusion, or poor layer adhesion, revisit your printer settings and make adjustments as necessary. This first print is a critical opportunity to identify potential problems before printing larger projects.
Troubleshooting Common Issues
Even with careful installation and calibration, you might encounter some common issues when using the Volcano Hotend. These problems are often related to filament extrusion, nozzle clogging, or leveling problems. Diagnosing these issues can be tricky but there are clear steps to take to solve them. Troubleshooting problems ensures that your printer runs well and that you continue to get the benefits of your upgrade. This ensures that your printing runs without issues.
Filament Extrusion Problems
Filament extrusion problems can manifest in various ways, such as under-extrusion, over-extrusion, or inconsistent extrusion. Under-extrusion means that too little filament is being extruded, resulting in gaps or weak layers. Over-extrusion means that too much filament is being extruded, causing excess material and potentially creating blobs or uneven surfaces. To address these issues, start by checking the filament diameter in your slicer settings. Ensure that the nozzle temperature is appropriate for the filament type and that the extruder is properly calibrated. Check the extruder motor for any potential issues like slipping and confirm that there are no clogs in the hotend. Adjust settings as needed.
Nozzle Clogging
Nozzle clogging is a common problem, especially when using certain filaments or printing at high speeds. A clogged nozzle prevents filament from extruding properly, leading to failed prints. To resolve this, try performing a cold pull, which involves heating the hotend to a temperature slightly above the filament’s melting point and then manually removing the filament. If this doesn’t work, use a thin needle to clear the nozzle. You can also try increasing the nozzle temperature slightly to see if it helps. Regular maintenance, such as cleaning the nozzle and ensuring that the filament is free of debris, can help prevent clogs.
Leveling Problems
Proper bed leveling is essential for successful 3D printing. With a new hotend, you might need to re-level the print bed to ensure that the first layer adheres correctly. Use a level or the paper test method to make sure the nozzle is the correct distance from the print bed across the entire surface. Adjust the bed leveling screws or use the auto-bed leveling feature on your printer if available. Poor bed leveling can lead to issues such as the nozzle being too far from the bed (resulting in poor adhesion) or too close (causing the nozzle to scratch the bed or clog). Correct bed leveling is vital for a great first layer, which is the foundation for a successful print.
In conclusion, upgrading to a Volcano Hotend on your Tevo Tarantula can significantly enhance your 3D printing capabilities, offering faster print speeds and compatibility with a wider range of filaments. By carefully following this guide, preparing properly, and troubleshooting any encountered issues, you can successfully install and use the Volcano Hotend, unlocking new possibilities for your 3D printing projects. The journey may require patience and attention to detail, but the resulting improvements in print speed and versatility make the upgrade a worthwhile investment for any 3D printing enthusiast.