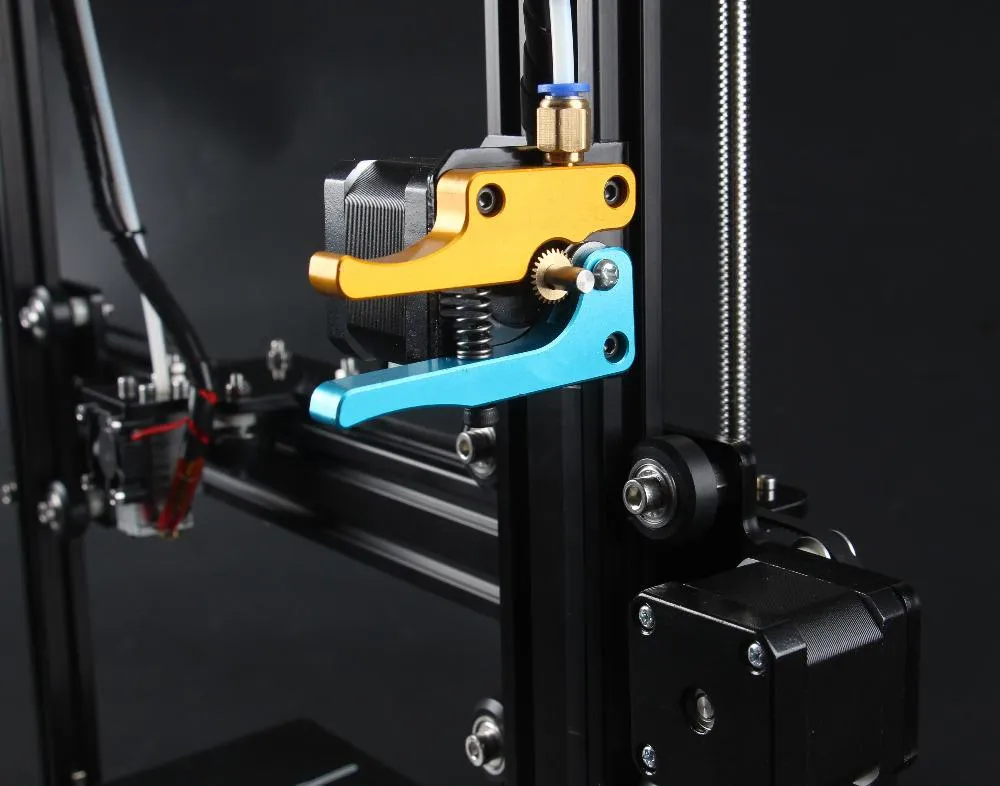
What is the Tevo Tarantula Kit?
The Tevo Tarantula is a popular and affordable 3D printer kit, making it an excellent choice for hobbyists, students, and anyone interested in entering the world of 3D printing. This kit allows you to build your own 3D printer from the ground up, providing a hands-on learning experience and a deeper understanding of how these machines work. The Tarantula’s appeal lies in its relatively low cost, ease of assembly compared to other kits, and the large print volume it offers for its price point. It’s a great starting point for those looking to explore 3D printing without a significant financial commitment and provides a pathway to understand the fundamentals of additive manufacturing.
Tevo Tarantula Kit Specifications
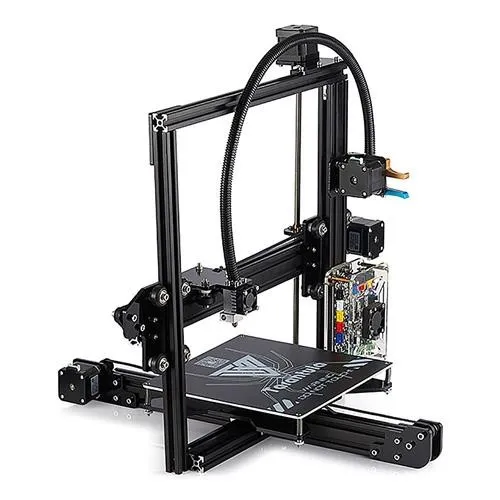
Understanding the specifications of the Tevo Tarantula is crucial for setting expectations and making informed decisions about its usage. Key specifications include a print volume of approximately 220 x 220 x 240 mm, allowing for moderately sized prints. The printer uses a 0.4 mm nozzle, which is standard for many desktop 3D printers, and it can handle various filament types, including PLA, ABS, PETG, and TPU. The heated bed is another essential feature, as it helps with adhesion of the first layer and reduces warping, particularly with ABS filament. The Tarantula often includes a basic LCD screen and control knob for navigating print settings and starting prints directly from an SD card, making it user-friendly even for beginners. The frame is typically constructed from aluminum extrusions, providing a sturdy base for printing. It’s important to consider these specifications in relation to your desired print projects.
Assembling Your Tevo Tarantula Kit
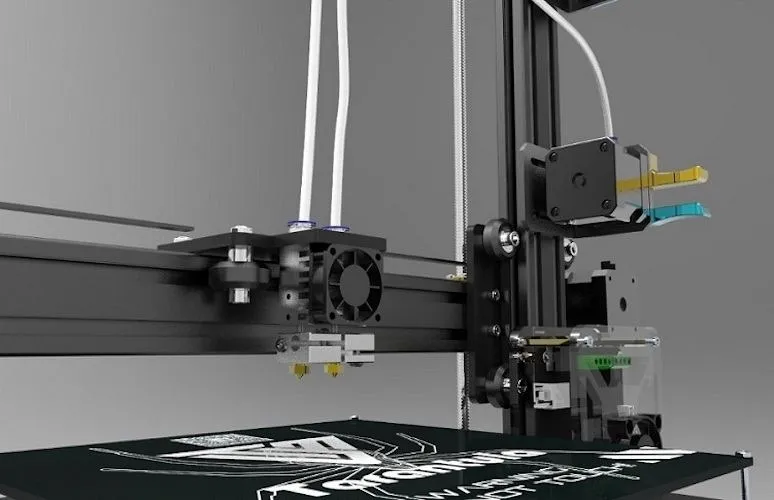
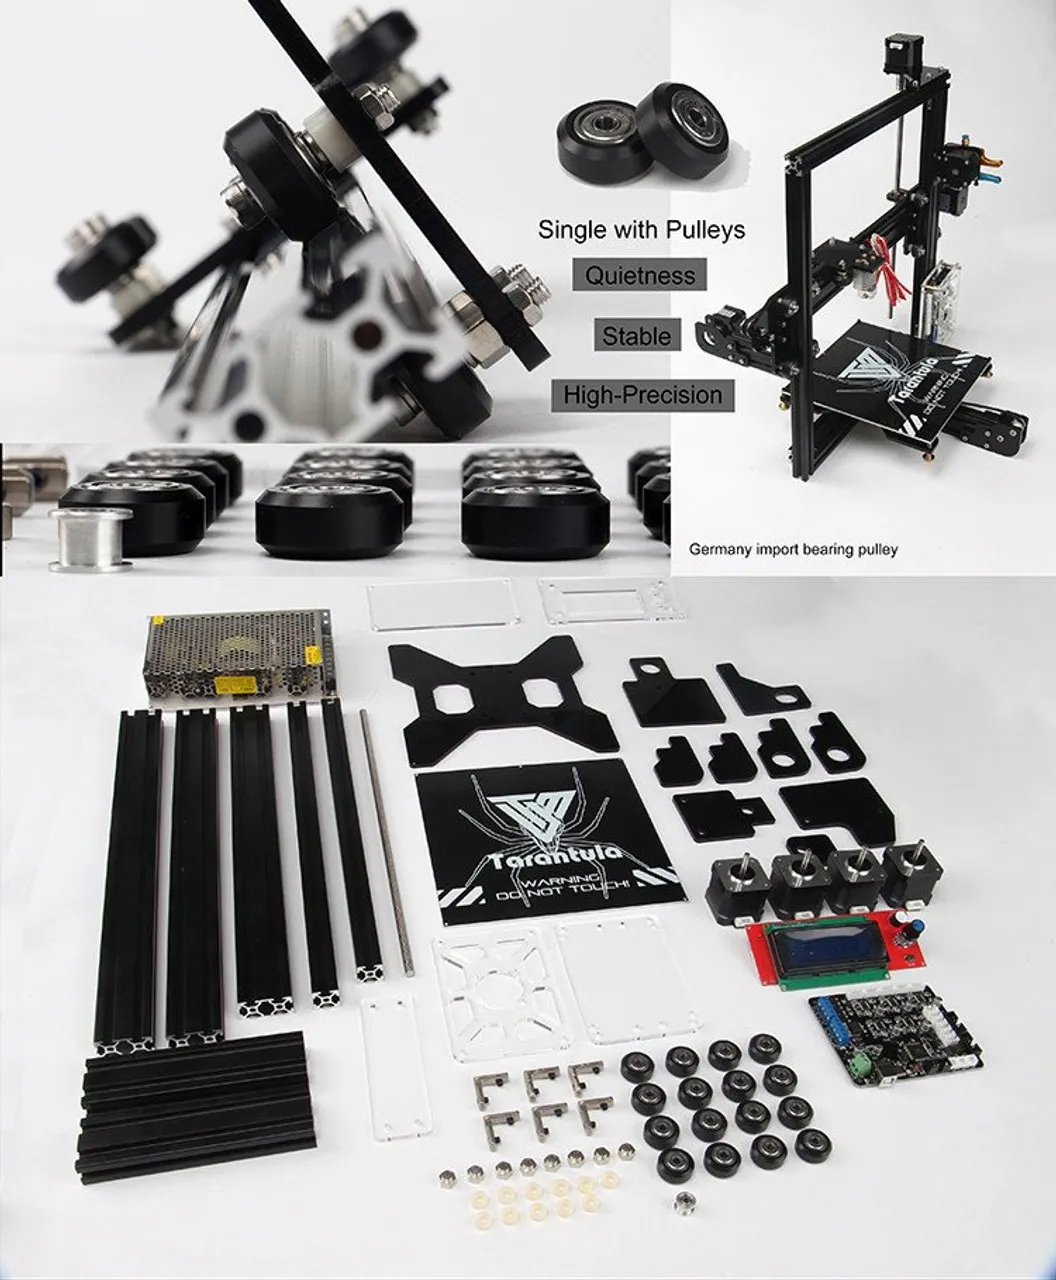
Assembling the Tevo Tarantula is a rewarding process that demystifies the inner workings of 3D printers. While it may seem daunting at first, the kit comes with a detailed instruction manual and online resources, such as videos, which guide you through each step. It’s best to approach the assembly methodically, organizing parts, and taking breaks when needed. The assembly usually involves attaching the frame components, installing the motors, and wiring the electronics. It’s a good idea to double-check connections and ensure everything is securely fastened to prevent issues down the line. Expect to spend several hours on the initial assembly, but the satisfaction of building your own 3D printer is well worth the effort. Ensure all the wires and connections are properly in place as it makes the printer run smoothly.
Tools and Materials Required
Before beginning the assembly of your Tevo Tarantula, gather the necessary tools and materials. The kit generally includes most of the components needed, but you’ll typically need a few additional tools. These include a set of Allen wrenches (metric), a Phillips head screwdriver, and possibly a small adjustable wrench. A pair of wire cutters or diagonal pliers can be useful for tidying up wires. You may also need a multimeter for troubleshooting electrical issues. Make sure you have a clean and well-lit workspace to prevent losing small parts. Having these tools readily available streamlines the assembly process, making it more efficient and less frustrating.
Step-by-Step Assembly Guide
Follow the instruction manual provided with your Tevo Tarantula kit carefully. Start by organizing all the parts and checking the inventory against the parts list. Begin with the frame assembly, ensuring all the screws are tightened securely. Then, install the motors, attaching them to the X, Y, and Z axes. Next, mount the heated bed and the extruder assembly. Wiring the electronics can be a bit tricky, so double-check the connections according to the wiring diagrams. Once the physical assembly is complete, connect the power supply and test the printer’s basic functions, such as moving the axes and heating the bed and nozzle. If any issues arise, consult the manual, online forums, and YouTube videos for troubleshooting tips. Calibration and fine-tuning are part of this process as well.
Bed Leveling the Tevo Tarantula
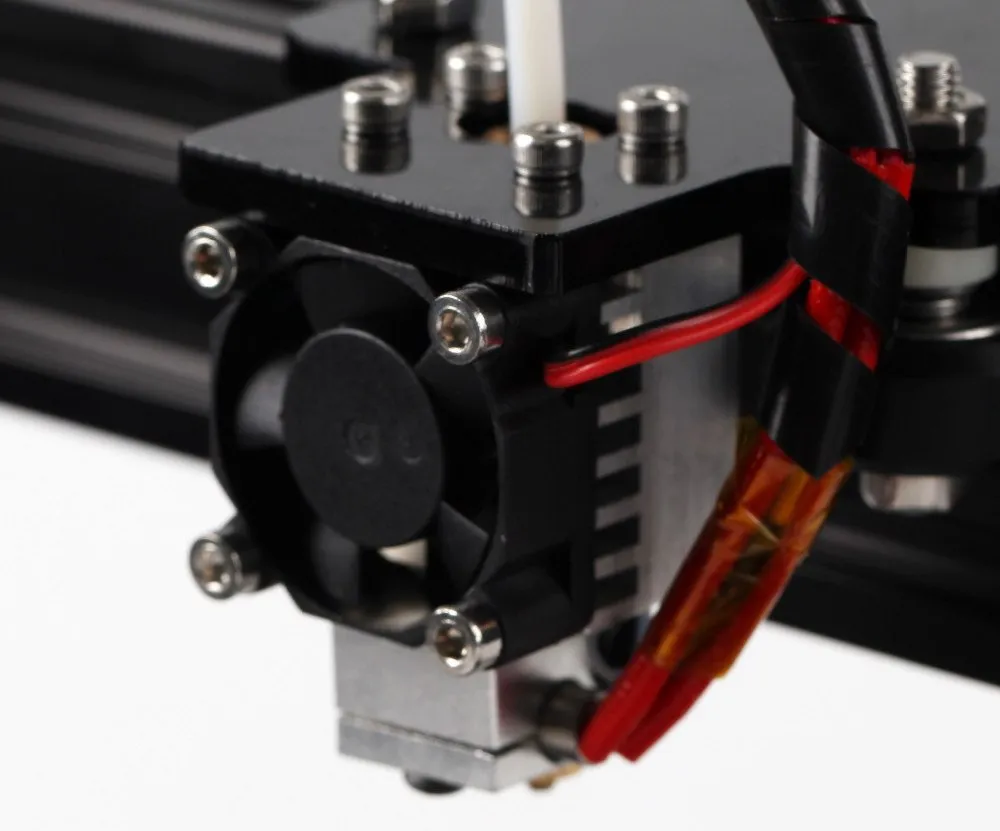
Bed leveling is one of the most critical steps in achieving successful 3D prints with your Tevo Tarantula. A properly leveled bed ensures that the first layer of filament adheres correctly, preventing warping and other print defects. Bed leveling involves adjusting the height of the print bed relative to the nozzle at various points on the bed’s surface. There are several methods for bed leveling, including manual leveling using the adjustment screws on the bed, and automatic leveling systems that use sensors to measure the bed’s surface. The goal is to have a consistent distance between the nozzle and the bed across the entire printing surface.
Why Bed Leveling Is Crucial
Bed leveling is crucial because it directly impacts the adhesion of the first layer of your print to the build plate. If the bed is not level, the nozzle may be too close to the bed in some areas, leading to nozzle clogging or the inability of the filament to extrude properly. In other areas, the nozzle may be too far from the bed, causing the filament to not stick at all. Poor first-layer adhesion can result in the print detaching from the bed during printing, leading to a failed print. A well-leveled bed ensures consistent adhesion, reduces warping, and significantly increases the chances of successful prints. It also helps the printer to run smoothly without the need for corrections during the process.
How to Level the Bed
Manual bed leveling typically involves using the four adjustment screws located on the corners of the heated bed. Start by preheating the bed and the nozzle to the temperatures recommended for your chosen filament. Then, move the nozzle to each corner of the bed and adjust the screws until the nozzle is the correct distance from the bed. A common method is to use a piece of paper, sliding it between the nozzle and the bed, adjusting the height until there is a slight friction when you move the paper. Some printers have automatic bed leveling sensors that do the adjustments for you. After leveling, it’s important to run a test print, such as a single-layer square, to confirm that the bed is level across the entire surface. Fine-tuning the bed level after the first test print is often necessary to achieve the best results.
First Print with Your Tevo Tarantula
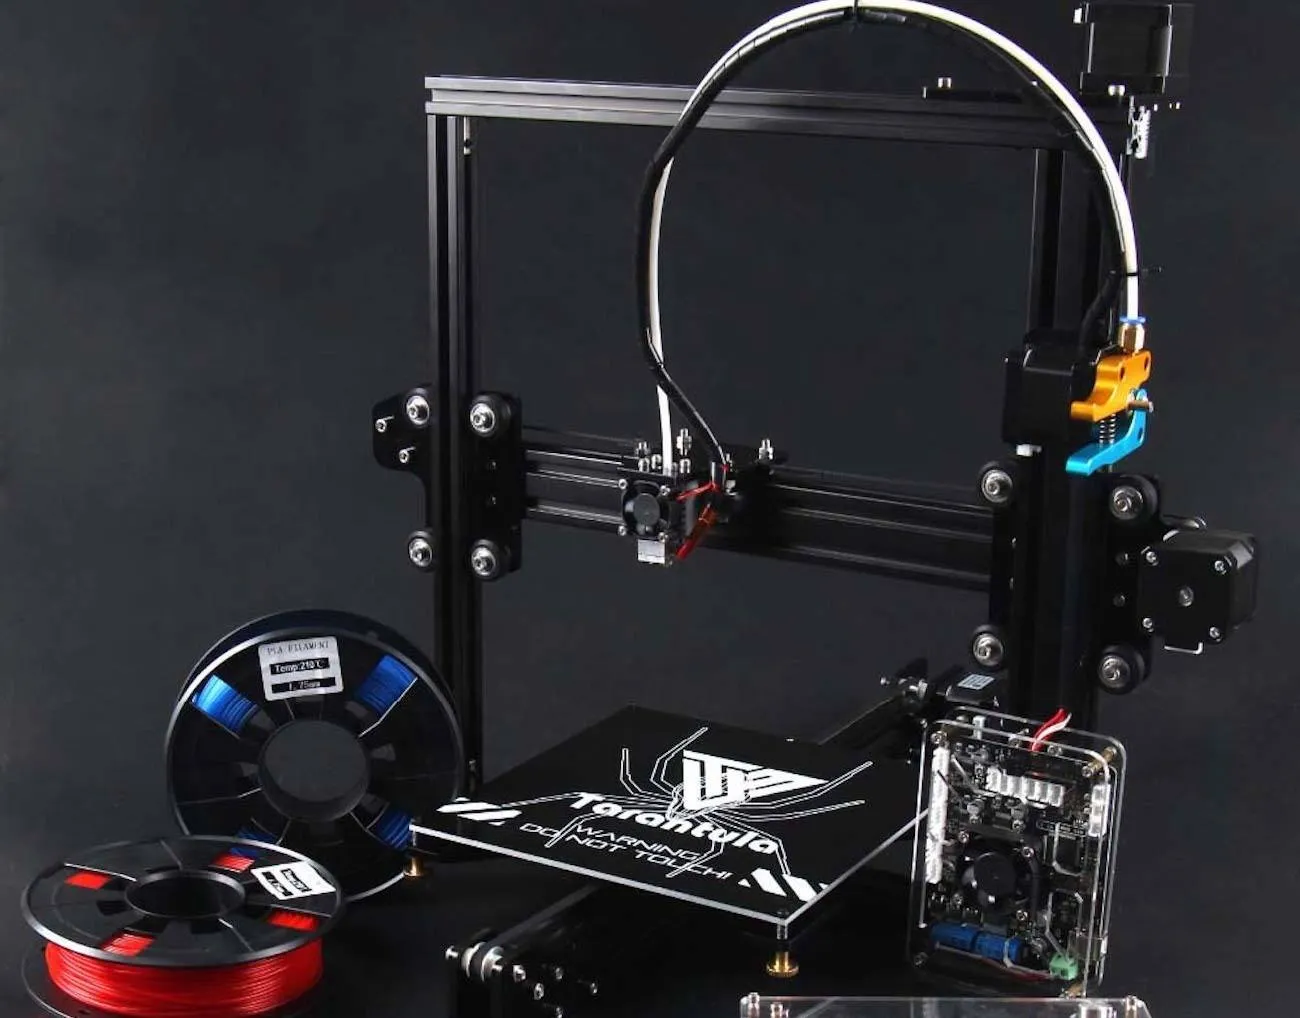
Once your Tevo Tarantula is assembled and the bed is leveled, you’re ready to perform your first print. This is an exciting milestone and a great opportunity to test your printer’s capabilities. Before starting, it is essential to understand the process and prepare your printer and the print file. Starting with a simple test print is recommended, such as a calibration cube or a small model available from online sources. Remember that the first print may take some time and effort. Patience is key, and be ready to troubleshoot if necessary. This first print serves as an important learning experience, and from it, you will learn to optimize your settings and improve print quality.
Preparing Your First Print
Before starting your first print, you’ll need to prepare the print file. This involves slicing a 3D model using slicing software like Cura, Simplify3D, or PrusaSlicer. Slicing software converts your 3D model into G-code, which the printer understands. When slicing, you’ll need to configure various settings, including the filament type, nozzle temperature, bed temperature, print speed, and layer height. These settings depend on the filament you are using. Ensure you have selected the correct printer profile in your slicing software. After slicing, save the G-code file onto an SD card and insert it into your Tevo Tarantula, or transfer it via a USB connection if your printer supports it. Check the SD card functionality, if the printer is not reading the SD card, reformat the card and try again.
Slicing Software Basics
Slicing software is the essential bridge between your 3D model and your 3D printer. It takes your 3D model (typically in STL or OBJ format) and slices it into thin layers, generating a set of instructions (G-code) for the printer to follow. The software allows you to configure various parameters that control the printing process. This includes layer height, which affects the print’s resolution and time; print speed; infill density, which determines the internal structure of the print; and support structures, which are necessary for overhanging features. Familiarizing yourself with the basic settings is important for getting good prints. Experimenting with these settings is key to optimizing print quality and minimizing printing issues. Learning to use slicing software effectively is an important skill for any 3D printing enthusiast.
Loading Filament and Starting the Print
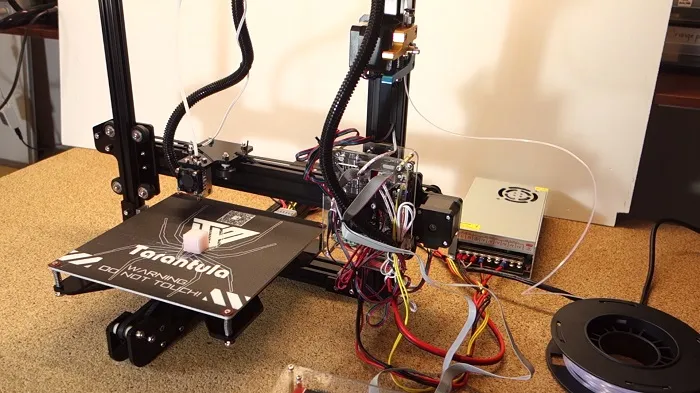
Once the G-code file is prepared and loaded onto the SD card (or transferred via USB), it’s time to load the filament. First, preheat the nozzle to the temperature recommended for your filament type. Then, insert the filament into the extruder, feeding it through the hotend. Make sure the filament extrudes smoothly from the nozzle. On the printer’s control panel, select the G-code file and start the print. The printer will then preheat the bed and nozzle, home the axes, and begin printing the first layer. Observe the first layer closely to ensure it adheres correctly to the bed. Once the print starts, monitor it closely for any potential problems, such as warping, stringing, or failed layer adhesion. Adjusting settings like the bed temperature and nozzle height during the first few layers can often fix initial issues.
Troubleshooting Common Issues
Troubleshooting is a part of the 3D printing journey. It’s a common experience, particularly for beginners. Understanding and knowing how to troubleshoot common issues with your Tevo Tarantula can save you a lot of time and frustration. Many issues can arise during the printing process, ranging from the filament not adhering to the bed to complete print failures. Common troubleshooting includes nozzle clogging, bed adhesion problems, and layer shifting. Online forums, such as Reddit and various manufacturer communities, are valuable resources for troubleshooting, providing solutions to many issues. This includes adjusting print settings to help prevent issues and fine-tuning the printer’s performance.
Nozzle Clogging
Nozzle clogging is one of the most common problems in 3D printing. This happens when filament gets stuck inside the nozzle, preventing it from extruding. Several factors can cause nozzle clogs, including overheating the filament, using low-quality filament that contains impurities, or printing at the wrong temperature for the filament type. To resolve a clog, first, try heating the nozzle to a higher temperature and manually extruding the filament. If this doesn’t work, you may need to disassemble the hotend and clean the nozzle with a specialized tool. Cleaning the nozzle with a needle can also help remove small debris. Preventing clogs is key. Consider using a filament filter to remove dust and debris before it reaches the extruder. Also, make sure to store your filament properly, in a dry, airtight container, to prevent it from absorbing moisture, which can also cause clogs.
Bed Adhesion Problems
Poor bed adhesion is another frequent issue in 3D printing, where the initial layers of your print do not stick to the print bed properly, leading to warping or the print detaching. This problem often arises from an unlevel bed or an incorrect distance between the nozzle and the bed. The bed surface itself might also be a contributing factor. Different types of print beds require specific adhesion techniques. A common solution is to use adhesive materials, such as glue sticks, blue painter’s tape, or special bed adhesion sheets designed for 3D printing. Make sure the bed is clean before printing. Also, check the nozzle temperature and bed temperature settings, ensuring they are within the recommended range for the filament type you are using. Increasing the first layer height can also help with adhesion.
Layer Shifting
Layer shifting is a frustrating problem in 3D printing. The print shifts horizontally, which distorts the model and causes visual defects. This typically occurs when the printer’s belts are loose, the motor drivers are set incorrectly, or the motors skip steps due to excessive friction or printing too fast. Check the belt tension on the X and Y axes, ensuring they are taut but not overly tight. If the belts are too loose, tighten them. If the belts are tight, make sure the belts are not too tight. You may also need to recalibrate the motor drivers to ensure they are providing enough power to the motors. Check for any obstructions that could interfere with the printer’s movement. Printing at a slower speed or lowering the acceleration settings can also help prevent layer shifting.
Upgrading Your Tevo Tarantula
Once you become familiar with your Tevo Tarantula, you may want to upgrade it to improve its performance, print quality, and reliability. Upgrading your 3D printer is a continuous learning process and a great way to improve your skills. Numerous upgrades are available. These can range from simple, inexpensive modifications to more complex and costly additions. The upgrade process allows you to tailor your printer to your specific needs and printing preferences, such as creating an enclosed printer to print high-temperature materials.
Popular Upgrades for Better Printing
Several upgrades can significantly enhance your Tevo Tarantula. Upgrading the hotend is a common option, allowing you to print at higher temperatures and with a wider range of filaments. Replacing the stock bed with a better quality heated bed or a glass bed can improve bed adhesion and print quality. Installing a new mainboard with better stepper motor drivers can improve printing accuracy and reduce noise. Adding a BLTouch or other auto-bed leveling systems simplifies bed leveling, which also improves print quality. Other popular upgrades include installing a direct-drive extruder for more consistent filament feeding, adding an enclosure to maintain a more consistent temperature and reduce warping, or upgrading to a better power supply for more consistent performance. When choosing upgrades, consider your printing needs, budget, and technical skills.
Tips for Successful 3D Printing
Achieving successful 3D prints with your Tevo Tarantula requires not just the correct settings, but also a good understanding of the process. There are several tips to ensure print quality. Using quality filament is essential for better prints; low-quality filament can cause clogs and other print issues. Proper storage is crucial; keep your filament dry to prevent it from absorbing moisture, which can lead to printing problems. Monitoring your print while it’s in progress is important. Checking the first layer, and then the print while it goes can help you correct issues before they become catastrophic. Also, keep your printer clean and well-maintained to prevent issues such as nozzle clogs. Keep your working area clean.
Maintaining Your Tevo Tarantula
Regular maintenance is essential for keeping your Tevo Tarantula running smoothly and extending its lifespan. This involves several key tasks. Regularly clean the print bed with isopropyl alcohol to remove any residue. Lubricate the linear rods and lead screws to ensure smooth movement of the axes, which also increases the print quality. Periodically check and tighten the belts, screws, and other mechanical components to prevent issues such as layer shifting. Check the wiring and electrical connections to ensure they are secure and free of any wear or damage. Inspect the nozzle and hotend for any clogs and clean them if necessary. Dust and debris should be removed from the printer regularly. By performing these maintenance tasks regularly, you can extend the life of your 3D printer and enjoy years of successful printing.
