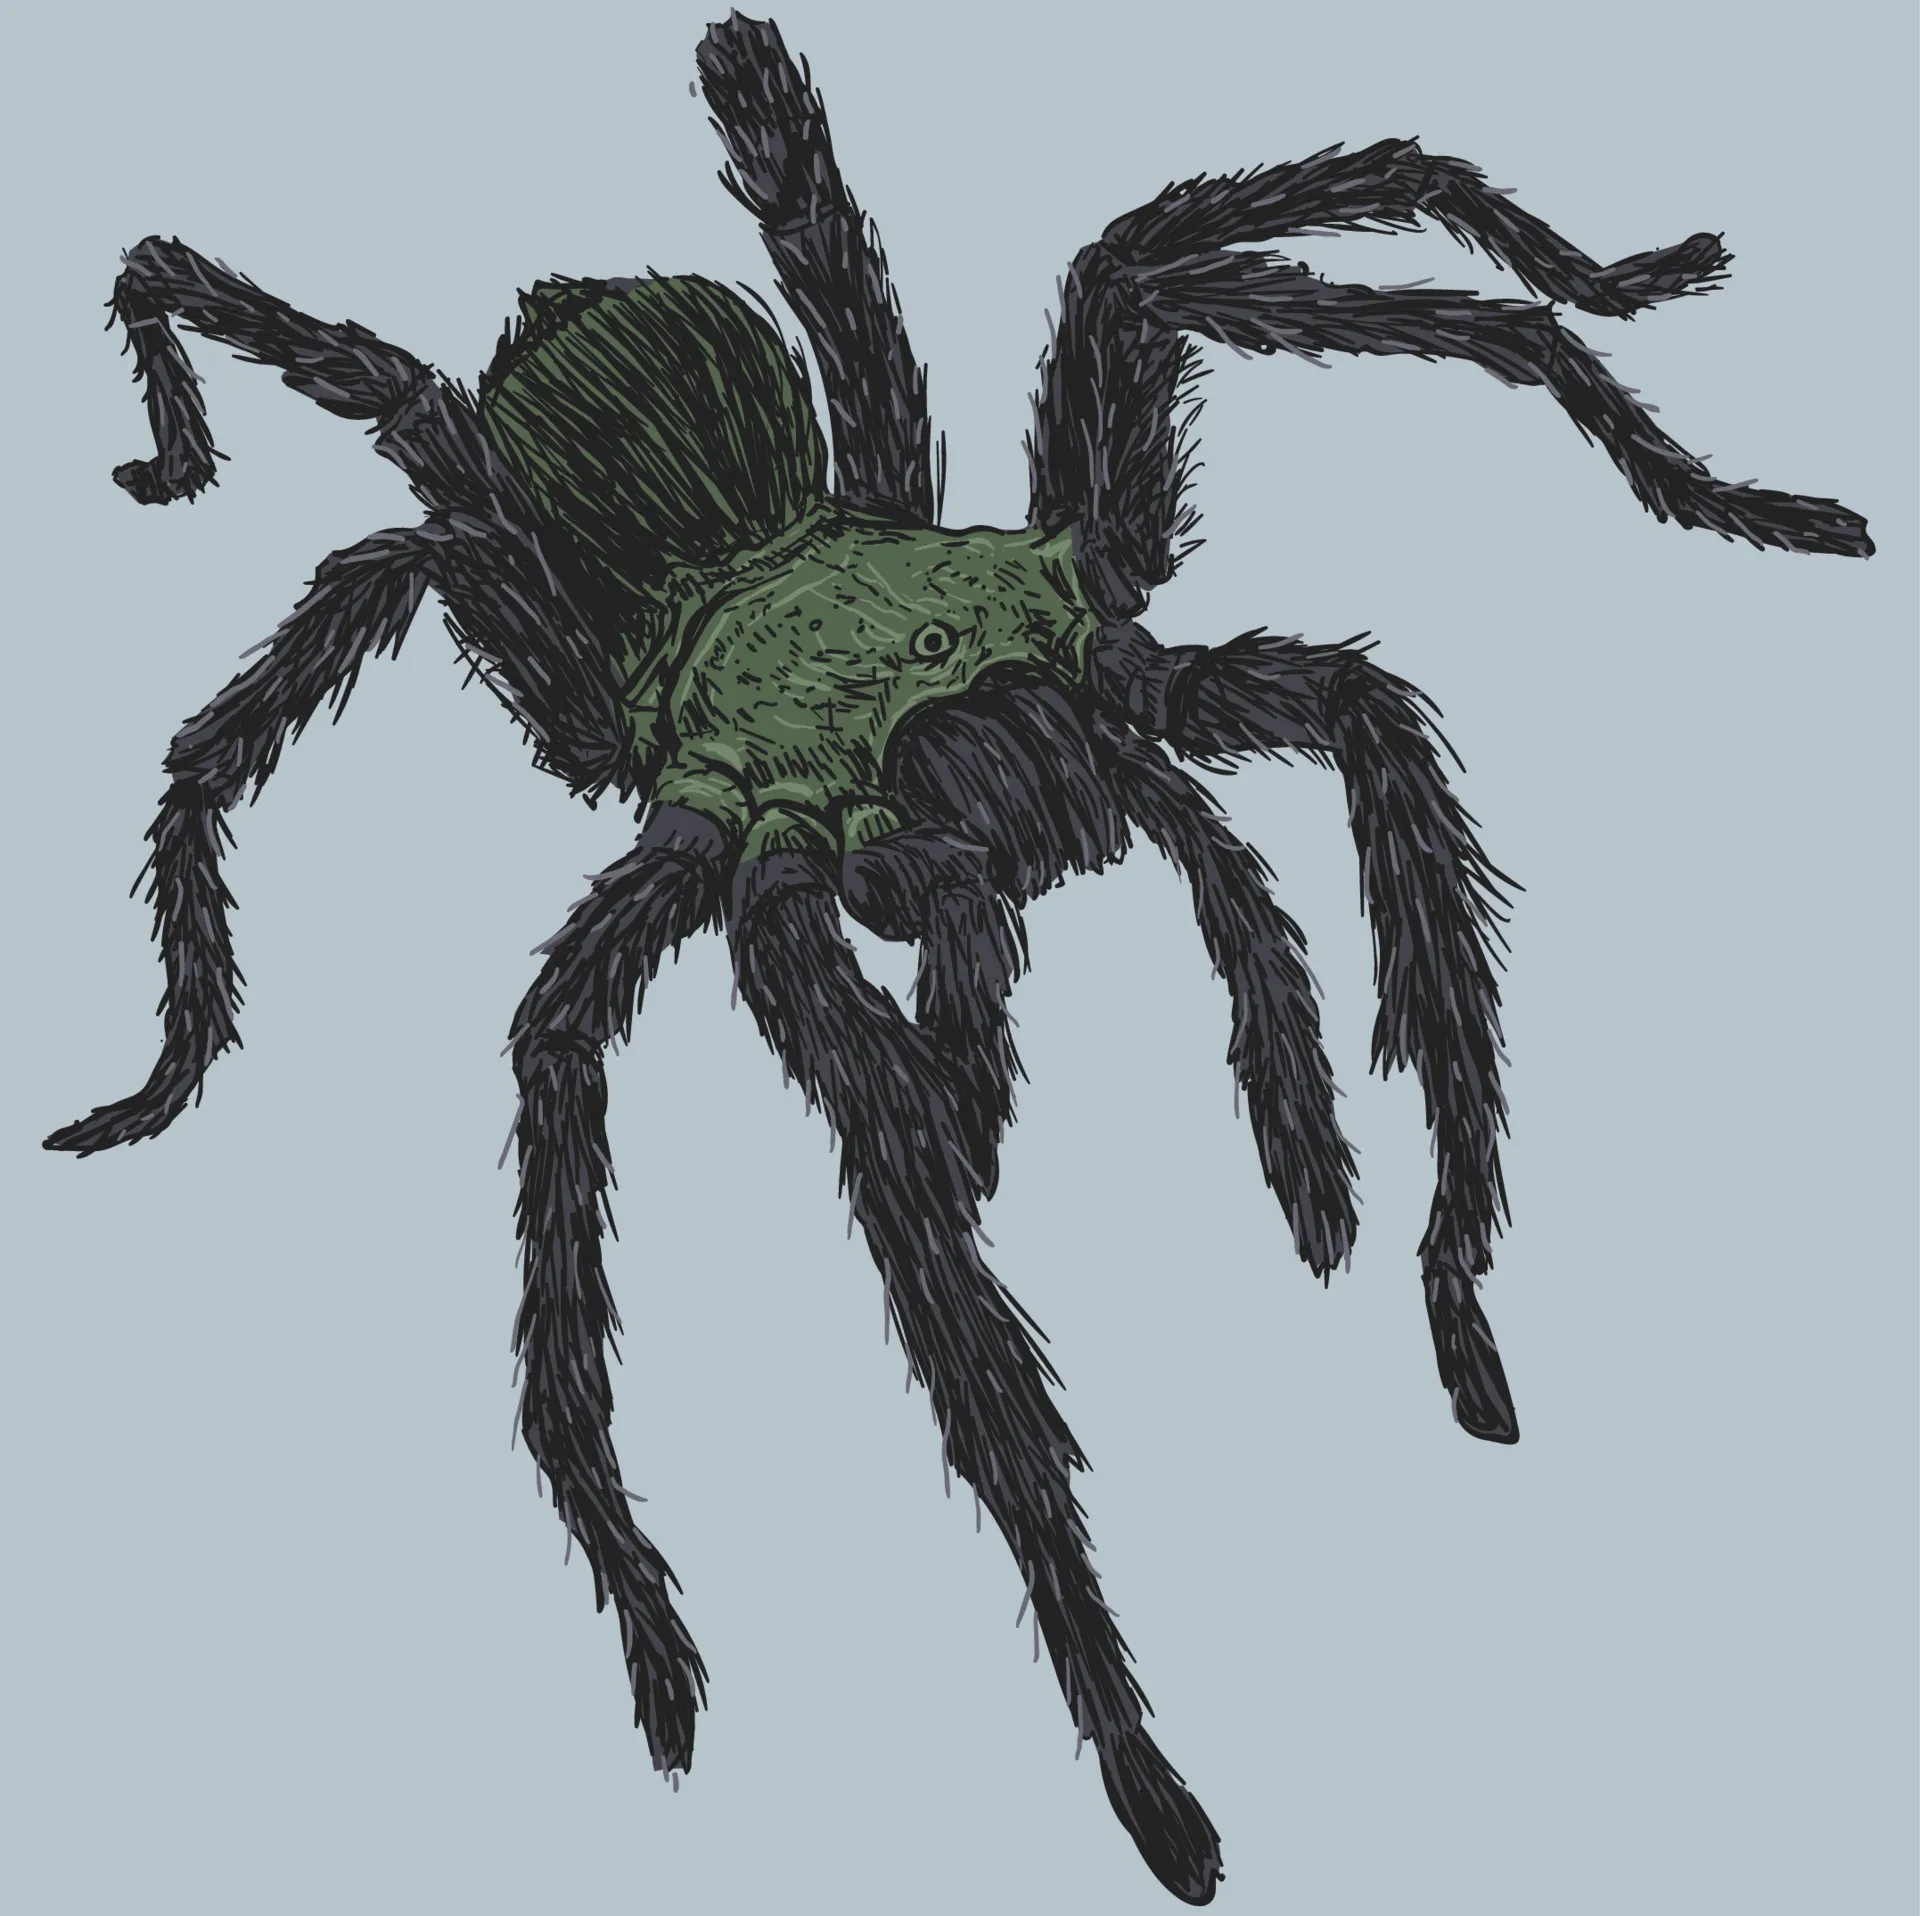
What You’ll Need to Draw a Tarantula
Embarking on a drawing journey can be a rewarding experience, and learning how to draw a tarantula is no exception. Before you begin, gather your essential materials. The right tools will make the process smoother and more enjoyable, helping you achieve a more realistic and appealing final product. Whether you’re a beginner or have some drawing experience, having the proper supplies is the first step toward creating your own tarantula masterpiece. With a little preparation, you’ll be well on your way to capturing the intricate details of this fascinating creature.
Pencil and Eraser
A good quality pencil is your primary tool. Start with a standard HB or 2B pencil; these are versatile and suitable for both sketching and shading. The HB pencil provides a good balance between hardness and darkness, while the 2B is softer, allowing for deeper shadows and more expressive lines. A soft, kneadable eraser is also crucial. This type of eraser is ideal for lifting pencil marks without damaging the paper. It allows you to correct mistakes and refine your drawing with ease. Make sure your eraser is clean to avoid smudging your artwork.
Paper
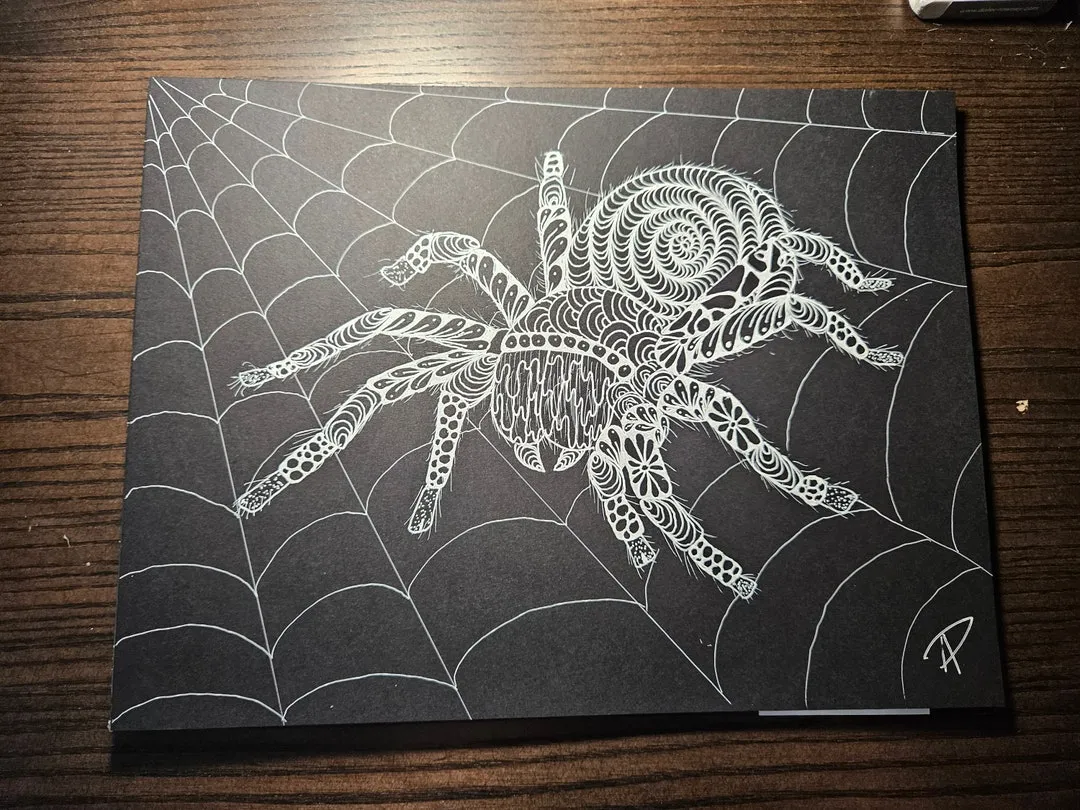
The type of paper you choose can significantly impact the final look of your drawing. For beginners, a standard sketchpad with medium-weight paper is an excellent choice. This type of paper has a slightly textured surface that allows the pencil to grip well, making it easier to control your lines and shading. As you gain more experience, you might experiment with different paper types, such as Bristol board, which is smooth and great for detailed work, or watercolor paper, which can be used with colored pencils or other media. Always select paper that is appropriate for the medium you’re using.
Optional Coloring Materials
To add color to your tarantula drawing, consider using colored pencils or markers. Colored pencils are a versatile option, allowing you to blend and layer colors to create realistic textures and shades. High-quality colored pencils are preferable, as they contain more pigment and blend more easily. Markers, particularly alcohol-based markers, can provide vibrant colors and smooth coverage. If you choose to use markers, select paper that is suitable for marker use to prevent bleed-through. Remember, you can also use watercolors or even digital tools to color your drawing based on your preferences.
Start with the Body of Tarantula
Begin your tarantula drawing by sketching the basic shapes of its body. The tarantula’s body consists of two main parts cephalothorax and abdomen. Use light, loose strokes to create these shapes, as you’ll refine them later. The cephalothorax, or prosoma, is the front part of the body, which is somewhat rounded and resembles a head. The abdomen, or opisthosoma, is the larger, oval-shaped back section. Accurately capturing these initial shapes will serve as a solid foundation for your entire drawing, providing a realistic base for the rest of the details. The key is to get the proportions correct from the beginning.
Draw the Cephalothorax
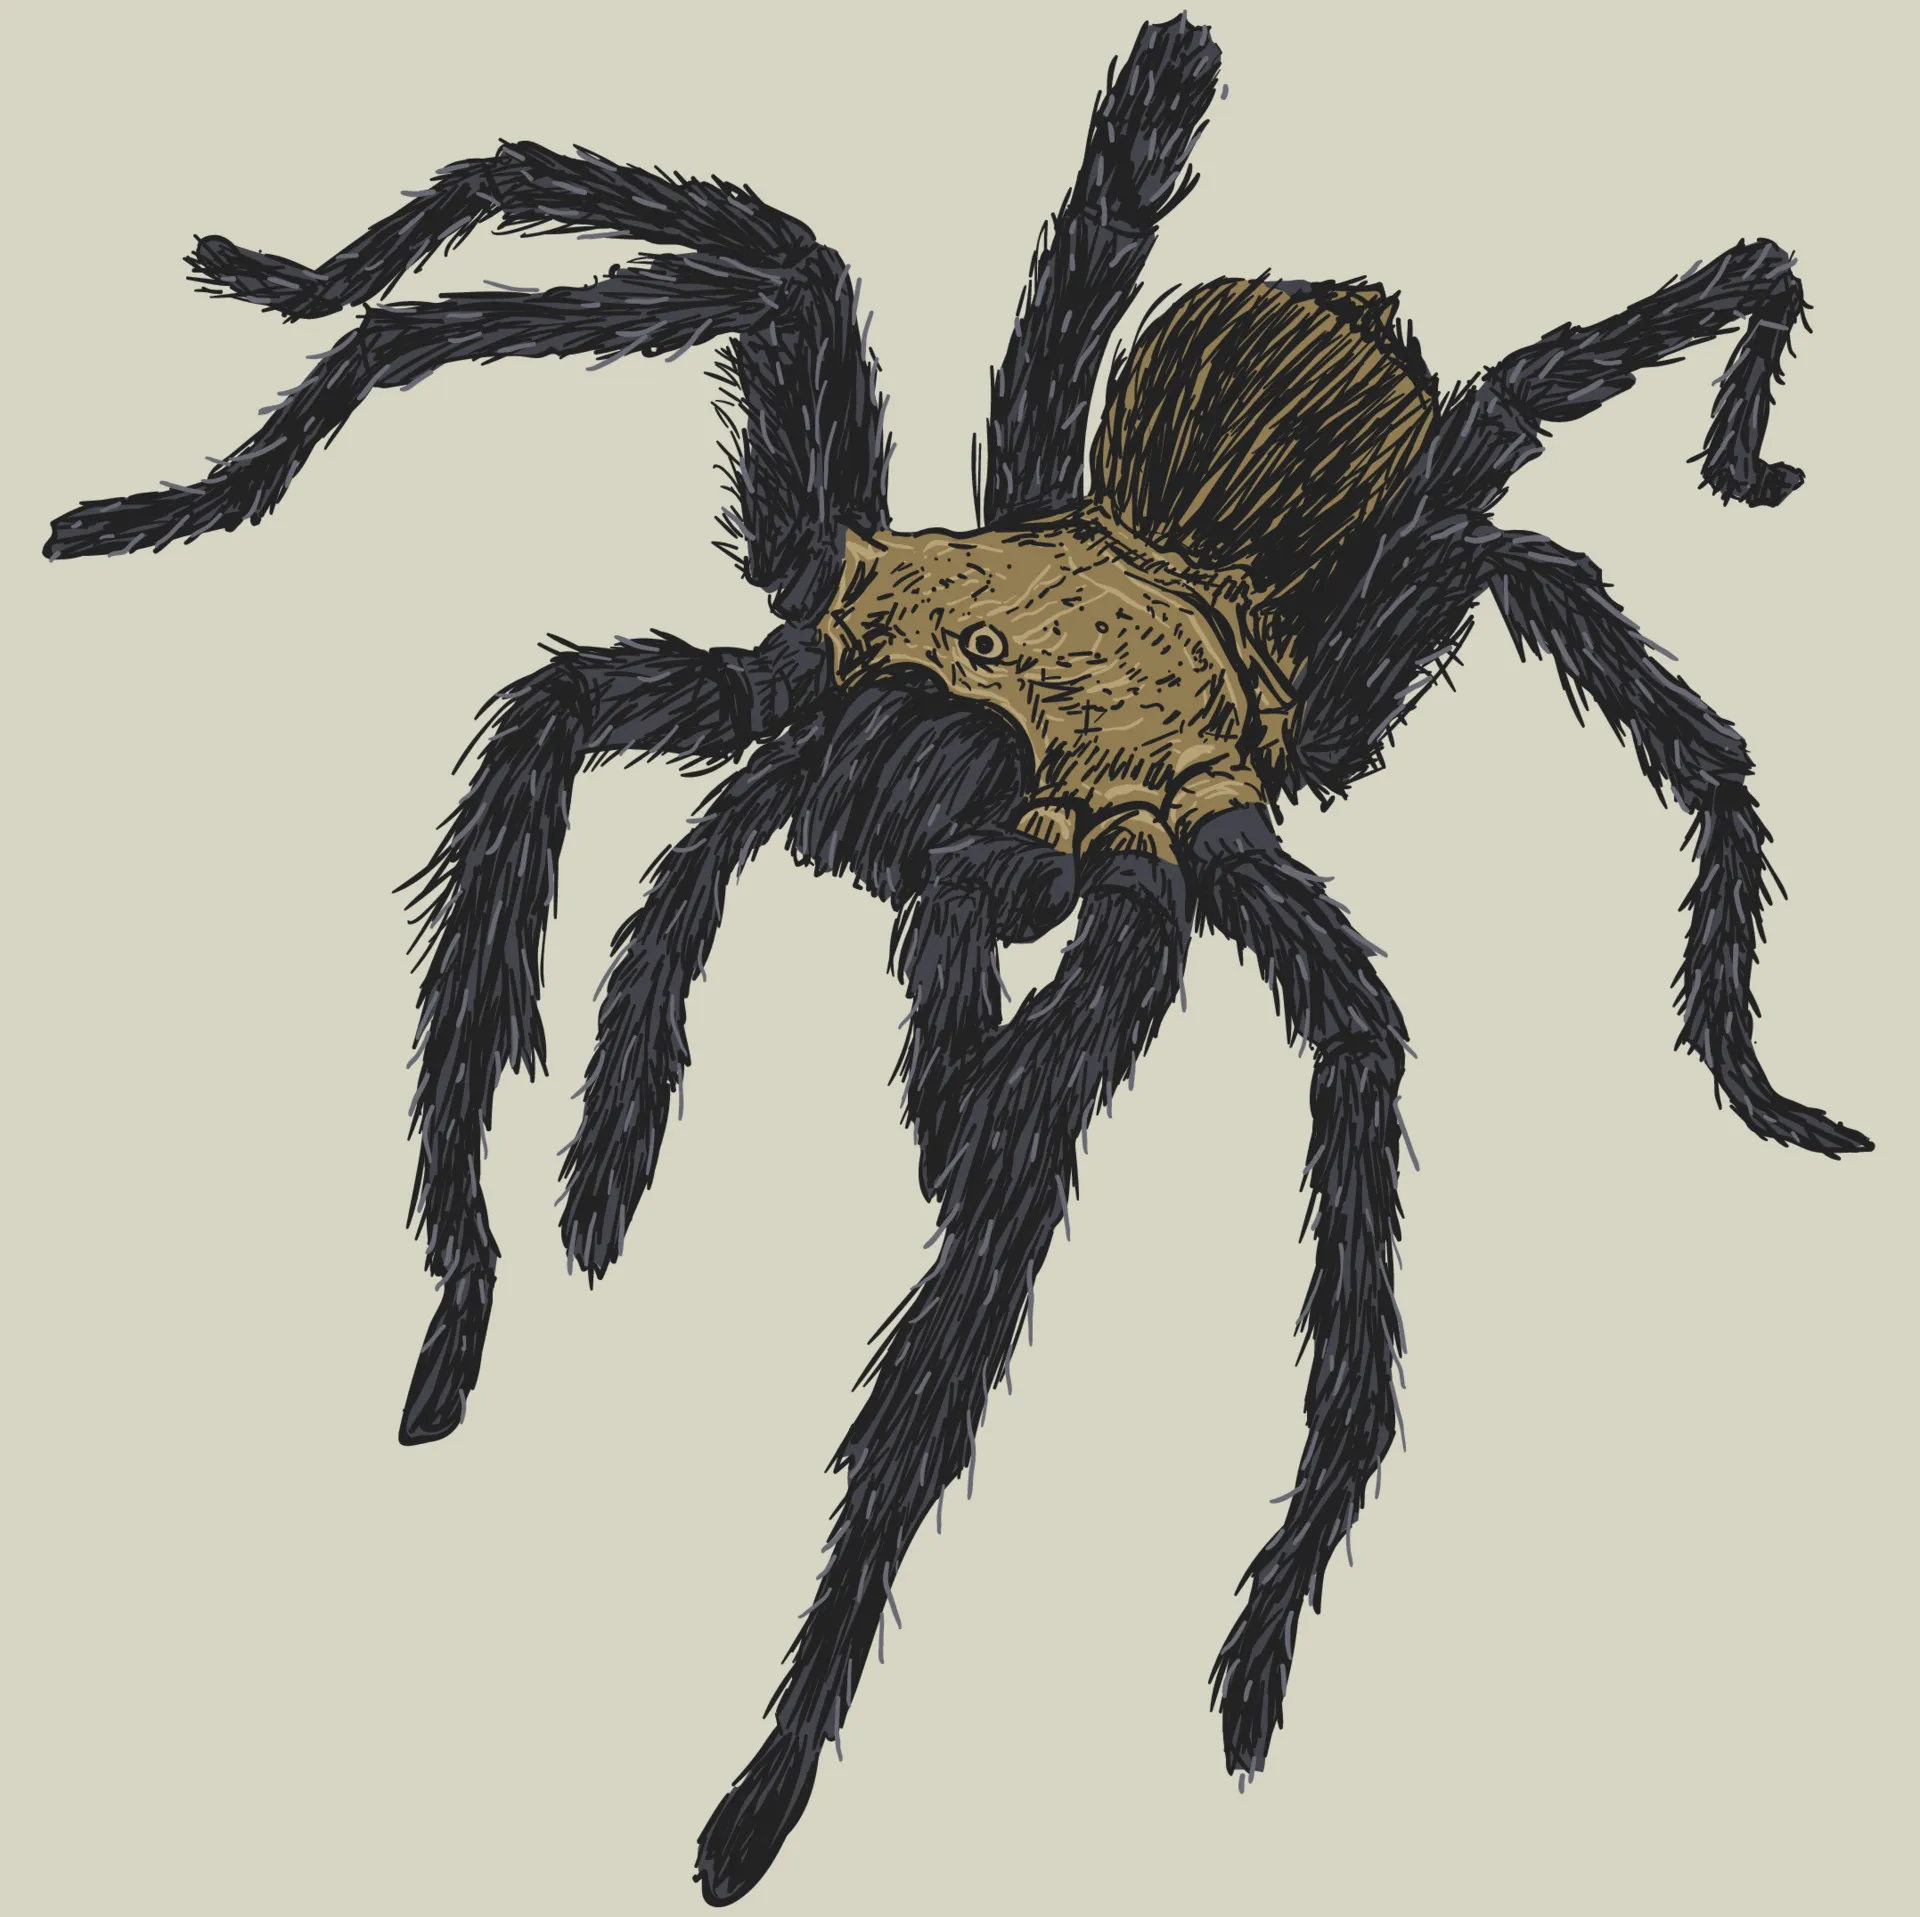
Start by sketching a slightly flattened, oval shape for the cephalothorax. This section is the front part of the tarantula’s body, where the legs and eyes are located. Ensure the shape is not perfectly round; it should have a subtle curve to it. Keep the lines light at this stage, as you will be making adjustments later. Consider the angle at which you want to depict the tarantula. This initial shape will provide a foundation for the rest of the drawing, helping you define the overall look and create a three-dimensional effect. Taking your time to ensure this part of the drawing is correct is crucial for the overall realism of your artwork.
Draw the Abdomen
Next, sketch the abdomen, which is the larger, oval-shaped section of the tarantula’s body. Connect it to the cephalothorax, making sure to maintain a slight separation between the two parts. The abdomen should be noticeably larger than the cephalothorax. Adjust the shape slightly if needed. This is where the tarantula’s silk glands are located. The overall shape should be rounded, giving a sense of volume and depth. Lightly outline the shape, ensuring that the overall proportions are correct. Comparing the size of the abdomen to the cephalothorax will help maintain realism in your drawing.
Add the Legs
Now, it’s time to add the legs. Tarantulas have eight legs, and they are typically long and hairy. Begin by sketching the basic outlines of the legs, paying attention to their length and position. Start with the legs closest to the body, as they provide a good reference point for the rest. The legs are made up of several segments, including the coxa, trochanter, femur, patella, tibia, and tarsus. You don’t need to draw all these segments in detail initially, but it’s important to understand their arrangement for accuracy. The positioning and angle of the legs will greatly affect the overall pose of your tarantula.
Position the Legs
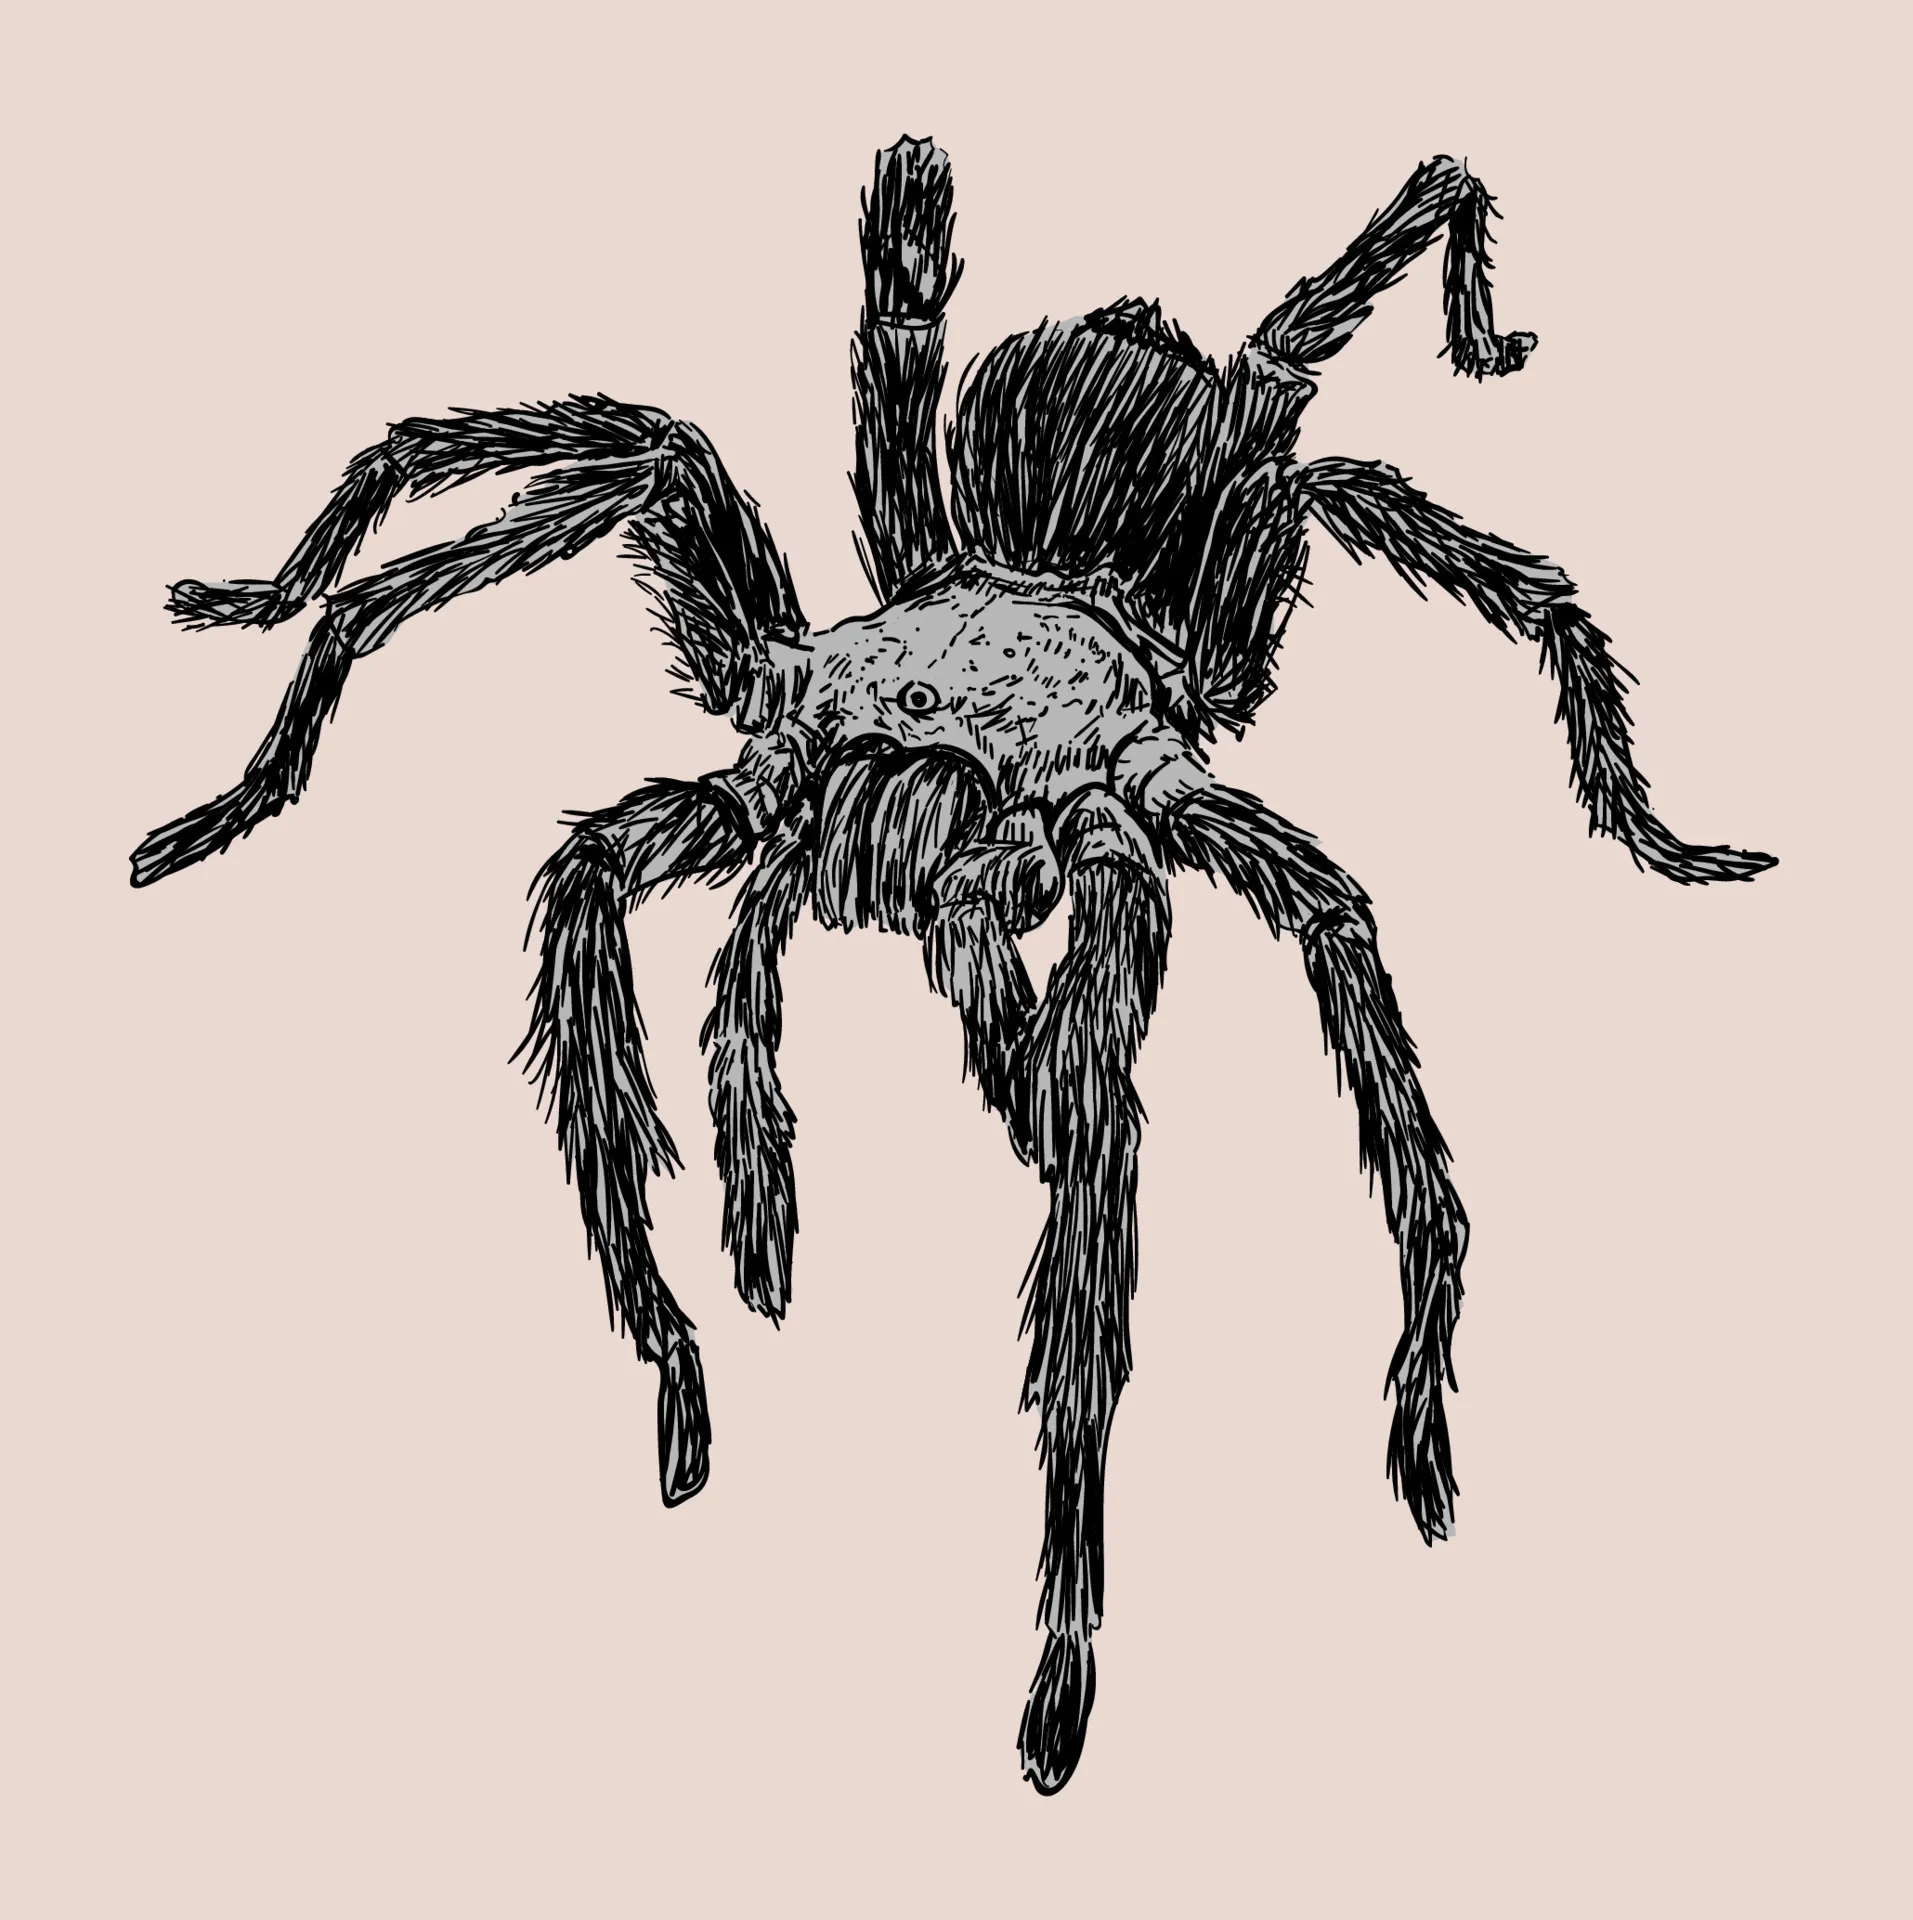
Carefully position the legs to achieve a realistic pose. Tarantulas often stand with their legs spread out, ready to move or defend themselves. Consider the perspective and angle of the tarantula you are drawing. The legs should appear to be radiating outwards from the cephalothorax, providing balance and stability. Some legs might be closer to the viewer, appearing larger and more detailed, while others might be farther away, appearing smaller and less detailed. Adjust the angles and lengths of the legs to match the pose you envision, adding a sense of movement and realism to your artwork.
Draw the Details
Once the basic leg positions are established, start adding details. Tarantula legs are covered in fine hairs and have claws at the tips. Using your pencil, add texture and detail to the legs, giving them a realistic appearance. Include the leg segments with a little more precision, but remember, you don’t have to draw every single hair, just enough to create the right impression. Pay close attention to how the legs taper and curve. This adds dimension and realism. Focus on the areas that are most prominent and visible, allowing the detail to draw the eye and create a compelling drawing.
Add the Fangs
Tarantulas have a pair of fangs, which are located near their mouthparts. These fangs are crucial for capturing prey. The fangs typically point downwards and slightly forward. When you are drawing them, pay attention to their size and shape relative to the rest of the tarantula’s body. Fangs are an important detail because they highlight the predatory nature of the tarantula. Careful detail work on the fangs will significantly enhance the realism of your drawing. Add a slight curve and definition to them.
Add the Eyes
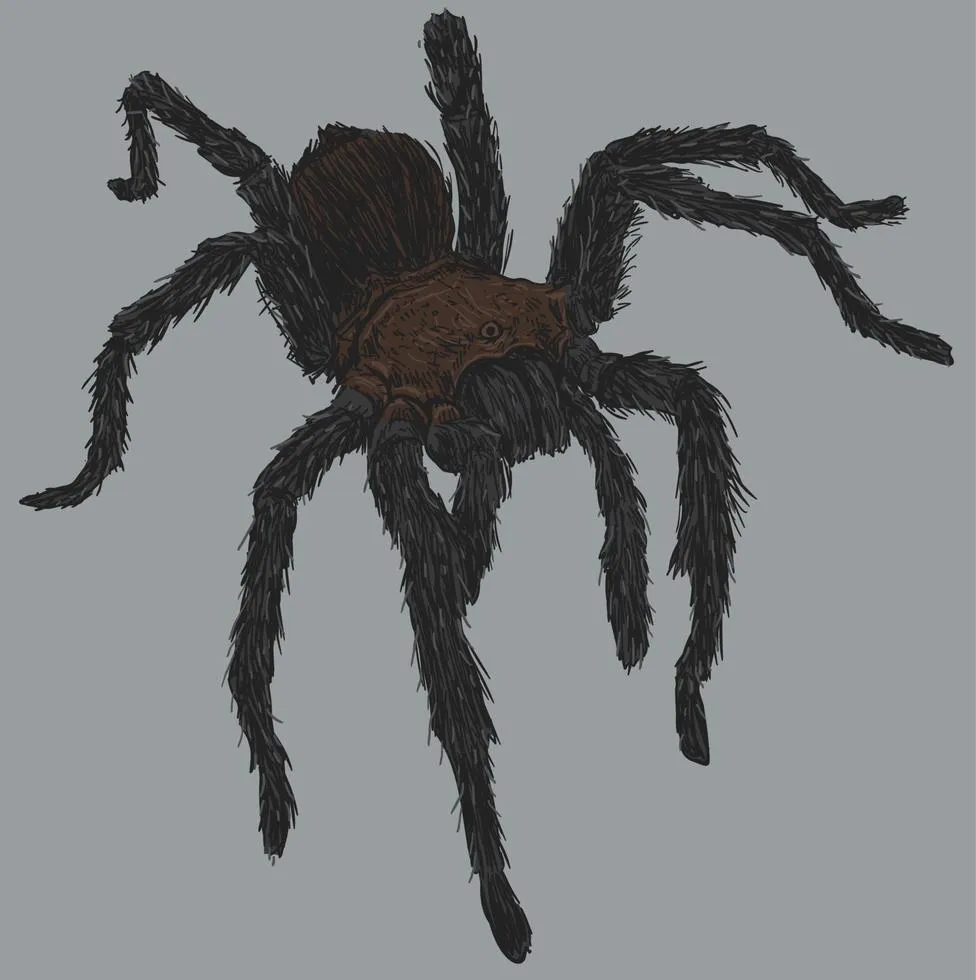
Tarantulas have multiple eyes, usually arranged in a group. They can see, but their vision is not as acute as that of humans. Locate the eyes on the top front part of the cephalothorax. Indicate the eyes as small, dark circles or dots, depending on the level of detail you want to include. The positioning of the eyes is important, as it influences the tarantula’s expression. Keep the eyes small to match their relative size to the other parts of the tarantula. When drawing the eyes, be consistent in your detail, as consistency helps create a cohesive and realistic image.
Add the Pedipalps
The pedipalps are small appendages located near the mouth. They are used for manipulating food and for sensory purposes. These are typically smaller than the legs. They are often covered in hairs, add these fine details. The pedipalps may have a slightly bulbous shape. Take your time to add the features to give a sense of dimension. Remember, it’s all about balance; you want to create a realistic drawing without overwhelming it with unnecessary detail.
Refine the Details and Erase Guidelines
Once you’ve added all the major details, it’s time to refine your drawing. Carefully examine your tarantula and make any necessary corrections. Erase any unnecessary guidelines or construction lines. This will clean up your drawing and help you create a more polished final product. At this stage, ensure that all the proportions are correct and that the details are well-defined. Take your time to perfect the different features, and make any necessary changes before you move on to shading. A good drawing starts with a solid foundation, and refining your work ensures a better outcome.
Shading Techniques
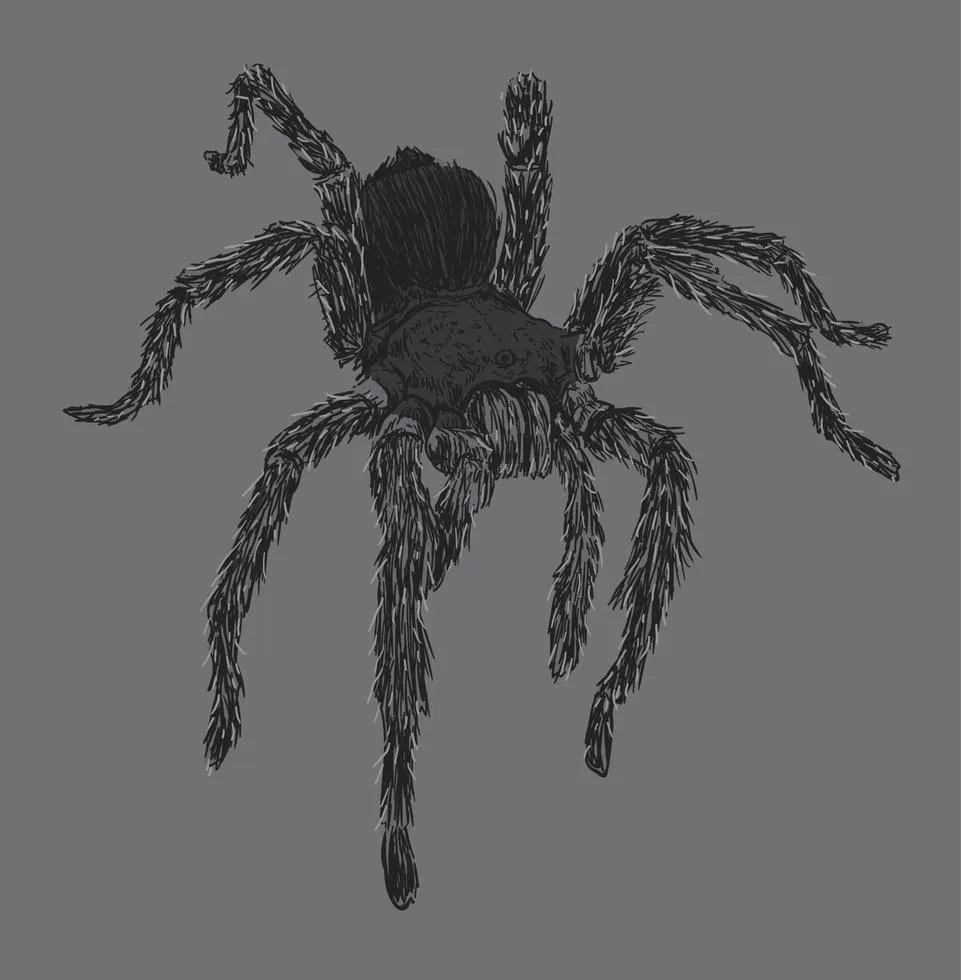
Shading is crucial for adding depth, dimension, and realism to your tarantula drawing. Learn about the different shading techniques, such as hatching, cross-hatching, and blending. These will help you create shadows and highlights, making your drawing more three-dimensional. The best shading approach will depend on the texture and lighting you want to achieve. Experiment with different techniques until you are satisfied with the result. Proper shading can transform a simple sketch into a detailed, lifelike drawing, making your tarantula look more realistic.
Basic Shading
Start with basic shading techniques to create depth. Use a light touch to build up layers of graphite, gradually darkening the areas where shadows would naturally fall. Consider where your light source is coming from. This will help you determine where to add shadows and highlights. Hatching involves creating parallel lines to add shadow, while cross-hatching involves layering these lines at different angles to create darker areas. Remember to vary the pressure you apply to your pencil to create different levels of darkness. Focus on shading areas such as the underside of the body, legs, and any other areas that would be in shadow.
Advanced Shading
Once you’re comfortable with basic shading, explore advanced techniques like blending and stippling. Blending involves using a blending stump or your finger to smooth out the pencil marks, creating a softer, more realistic effect. Stippling involves using small dots to build up shadows, which is useful for creating texture and detail, particularly on hairy surfaces. You can use these advanced techniques in combination with basic shading to enhance the appearance of your drawing. Experiment with varying the density of your dots. This will help to create a wide range of tones and textures, adding realism to the surface of your tarantula.
Coloring Your Tarantula

If you plan to add color, now is the time. Use colored pencils, markers, or other coloring materials to bring your tarantula to life. Before you start coloring, consider the natural coloration of tarantulas. They come in a wide range of colors, including browns, blacks, oranges, and yellows. Layer your colors to create depth and texture, and blend the colors to achieve a smooth, realistic appearance. You can also use shading to add more dimension. This can be done by starting with a lighter color and gradually adding darker shades. Use your reference image to create a lifelike image. Coloring is a fun way to enhance your artwork and make it stand out.
